Deploy a Smart Contract on Avalanche Using Remix and MetaMask
Introduction
-3c5cb7f1f21926b05ae3631f453ed49d.png)
Avalanche's Primary Network is a Subnet that has three chains: P-Chain, X-Chain, and C-Chain. The C-Chain is an instance of the Ethereum Virtual Machine powered by Avalanche’s Snowman consensus protocol. The C-Chain RPC can do anything a typical Ethereum client can by using the Ethereum-standard RPC calls. The immediate benefits of using the C-Chain rather than Ethereum are all of the benefits of using Avalanche. These properties that could considerably improve the performance of DApps and the user experience.
Today, we will deploy and test a smart contract on Avalanche using Remix and MetaMask.
Step 1: Setting up MetaMask
Log in to MetaMask -> Click the Network drop-down -> Select Custom RPC
-817d82b8dc74892e0fa5334b222c7ac4.png)
Avalanche Mainnet Settings:
- Network Name: Avalanche Mainnet C-Chain
- New RPC URL: https://api.avax.network/ext/bc/C/rpc
- ChainID:
43114 - Symbol:
AVAX - Explorer: https://snowtrace.io/
FUJI Testnet Settings:
- Network Name: Avalanche FUJI C-Chain
- New RPC URL: https://api.avax-test.network/ext/bc/C/rpc
- ChainID:
43113 - Symbol:
AVAX - Explorer: https://testnet.snowtrace.io/
Local Testnet (Avalanche Network Runner) Settings: (Avalanche Network Runner Tutorial)
- Network Name: Avalanche Local C-Chain
- New RPC URL: http://127.0.0.1:34890/ext/bc/C/rpc (Note: the port number should match your local setting which can be different from 34890.)
- ChainID:
43112 - Symbol:
AVAX - Explorer: N/A
Step 2: Funding your C-Chain address
Using Avalanche Wallet
On the main net, you can use the Avalanche Wallet to transfer funds from the X-Chain to your C-Chain address. The process is simple, as explained in this tutorial. Wallet can be used on test and local networks, too.
Using Test Network Faucet
For funding on the test network, you can use the Test Network Faucet. Navigate to https://faucet.avax.network/ and paste your C-Chain address. Faucet will automatically know that it needs to send the test AVAX to C-Chain. Click the captcha checkbox and select 'Request AVAX' button. Your address will receive test AVAX in a few seconds.
Funding on Local Testnet
On a local network, you can easily fund your addresses by following this.
Step 3: Connect MetaMask and deploy a smart contract using Remix
Open Remix -> Select Solidity
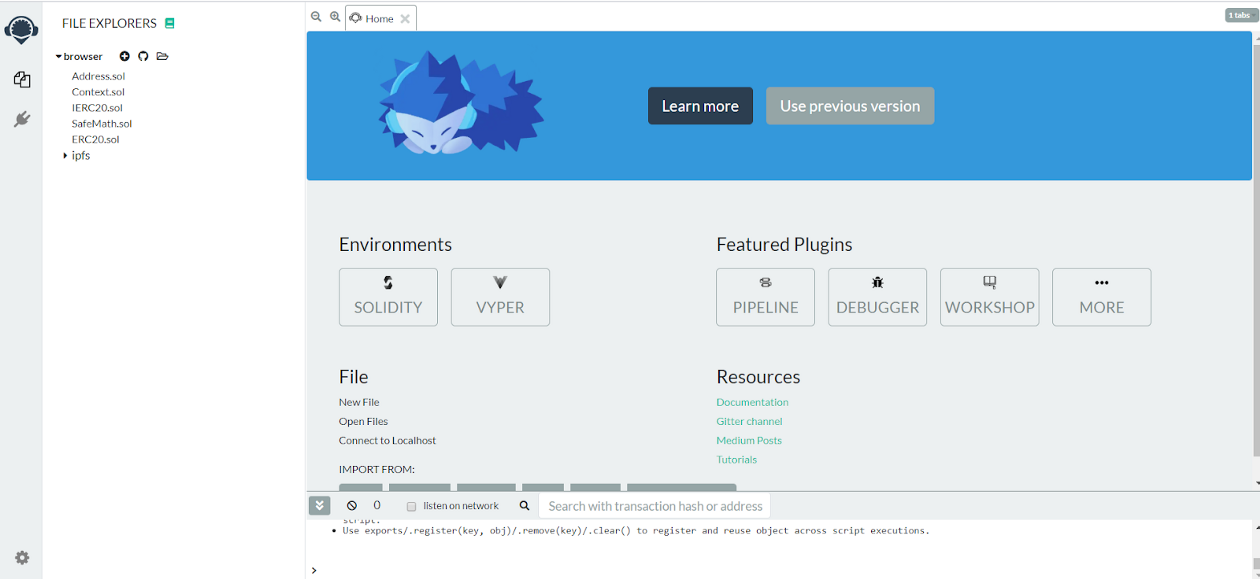
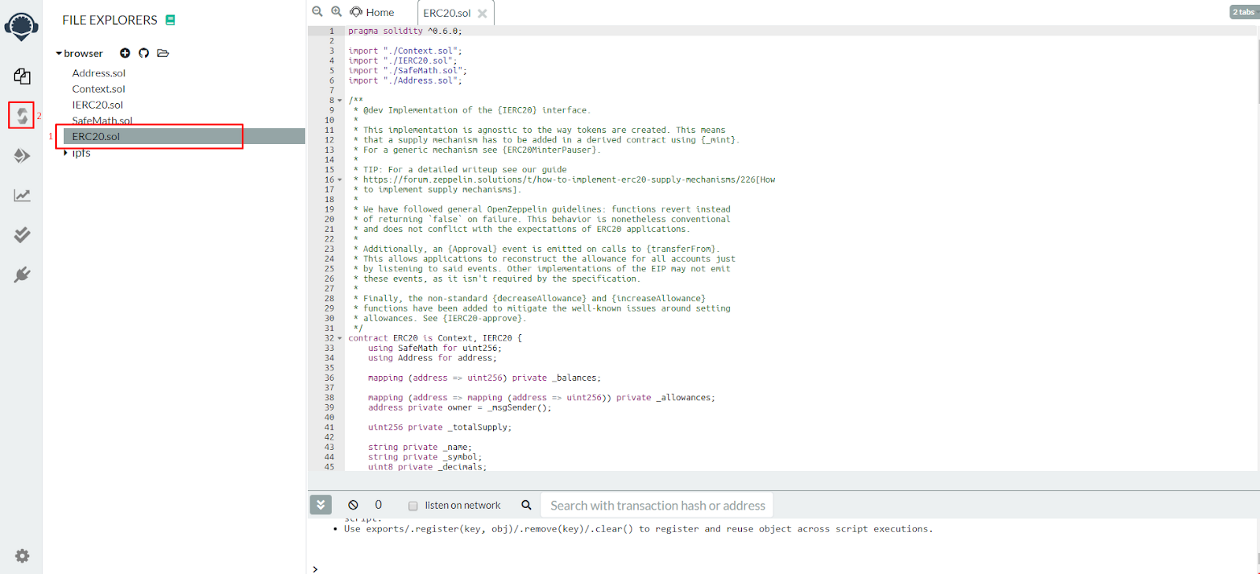
Load or create the smart contracts that we want to compile and deploy using Remix file explorer.
For this example, we will deploy an ERC20 contract from OpenZeppelin.
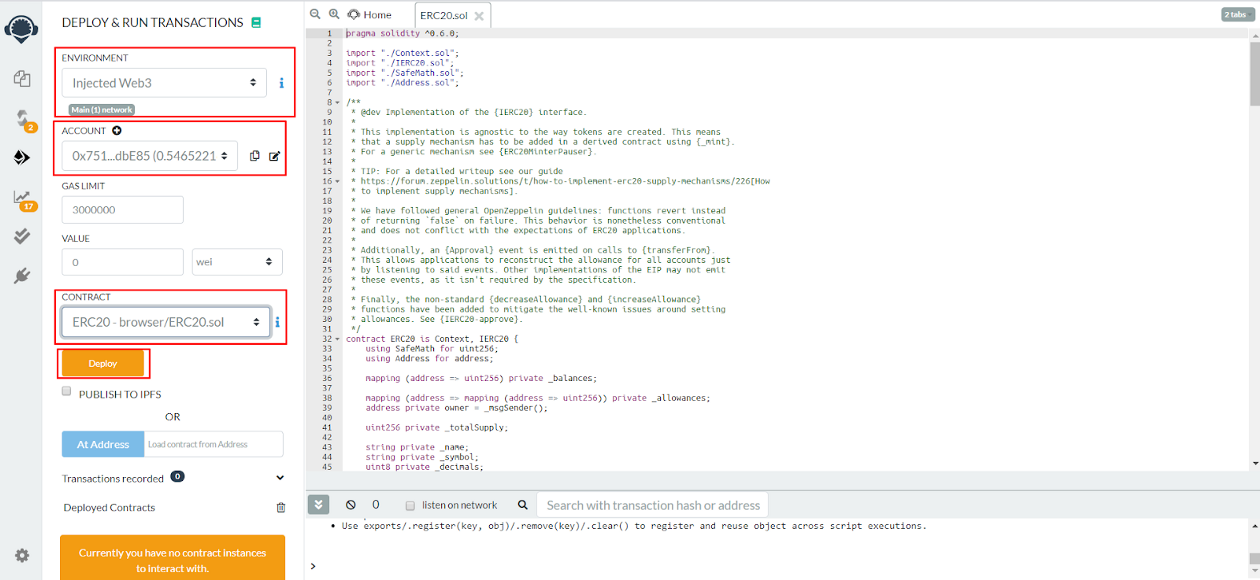
Navigate to Deploy Tab -> Open the "ENVIRONMENT" drop-down and select Injected Web3 (make sure MetaMask is loaded)
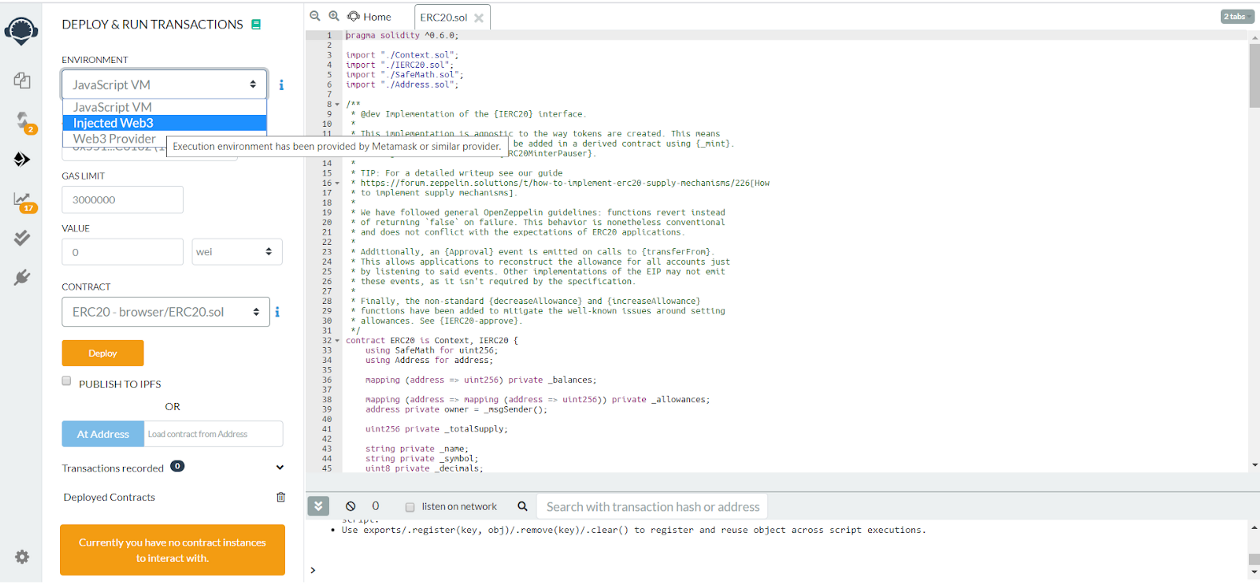
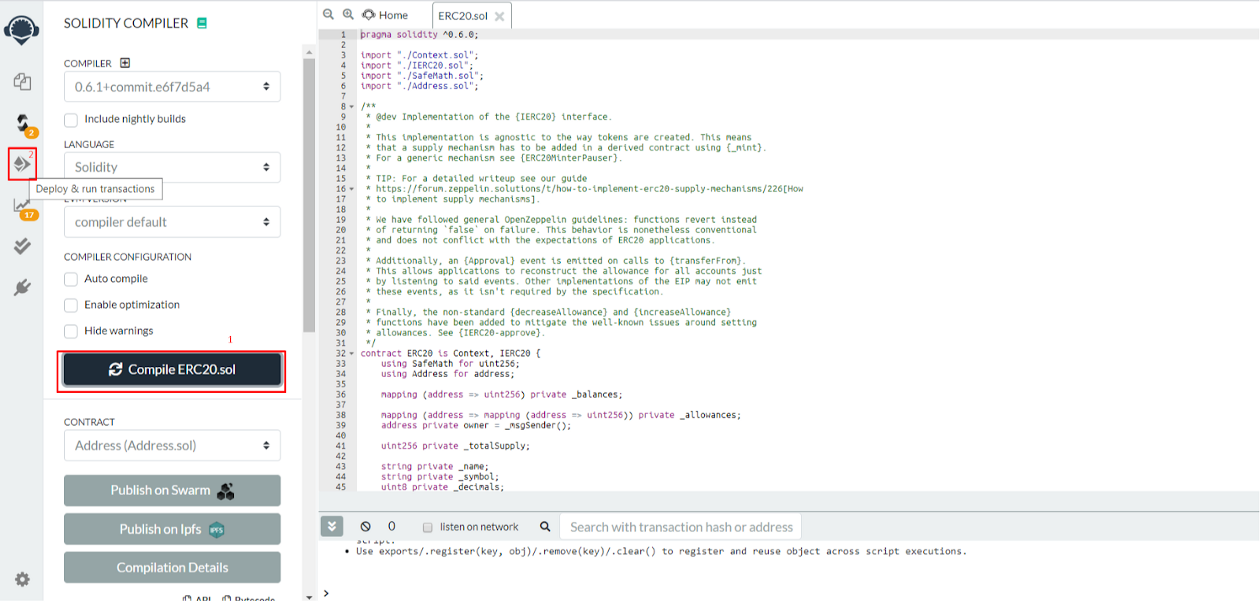
Once we injected the web3-> Go back to the compiler, and compile the selected contract -> Navigate to Deploy Tab
Now, the smart contract is compiled, MetaMask is injected, and we are ready to deploy our ERC20. Click "Deploy."
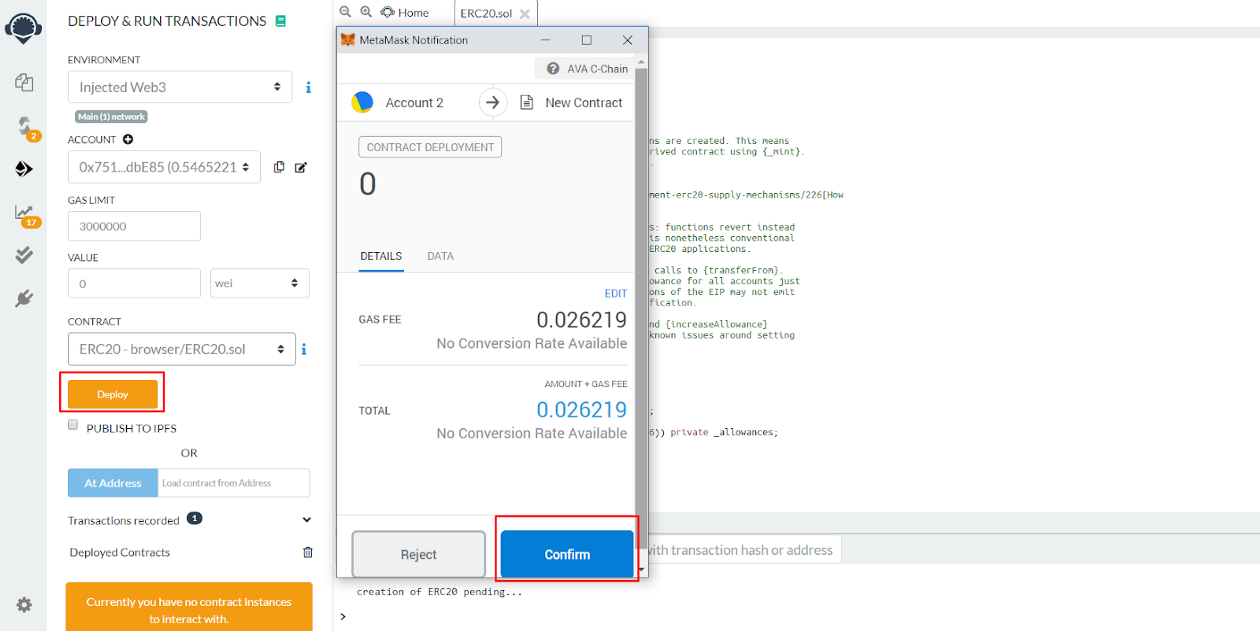
Confirm the transaction on the MetaMask pop up.
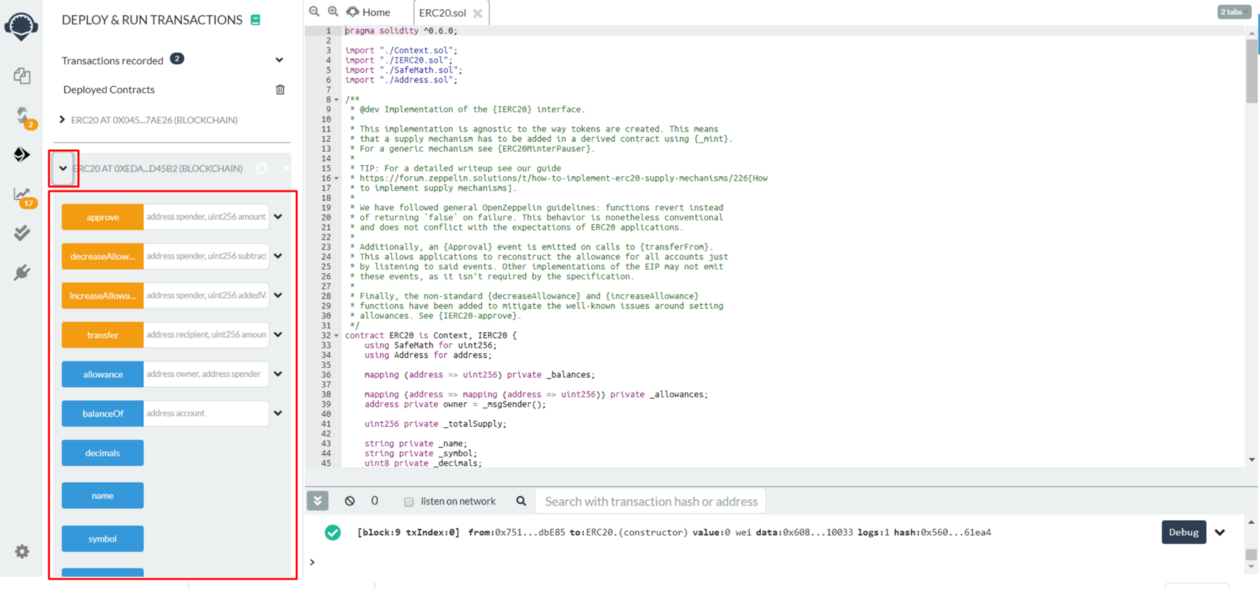
Our contract is successfully deployed!

Now, we can expand it by selecting it from the "Deployed Contracts" tab and test it out.
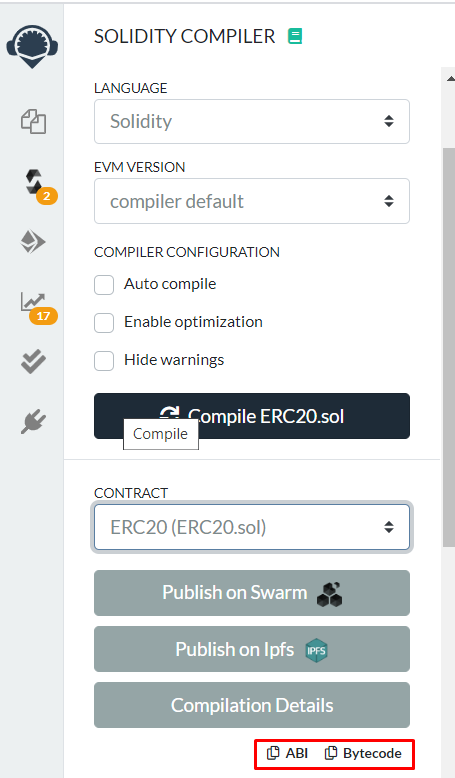
The contract ABI and Bytecode are available on the compiler tab.
If you had any difficulties following this tutorial or simply want to discuss Avalanche with us, you can join our community at Discord!